Where to dive in Australia in August
Humpback swims at Ningaloo, mantas peak at Lady Elliot, and Port Jackson sharks and cuttlefish breed in the south.
August brings the humpback whale swim season to Ningaloo and the tail of the manta peak at Lady Elliot. The reef's trade winds can blow hard for days, so build slack into a Queensland trip. In the south the Port Jackson sharks are aggregating to breed, giant cuttlefish are displaying on the Victorian and Tasmanian reefs, and the water is at its coldest (11–13 °C) but often flat and clear on the east-facing coasts.
Where to go in August
Ningaloo – Exmouth
Humpback whale swims begin.
Heron Island
Mantas, clear water, humpbacks passing.
Wollongong & Kiama
Port Jackson sharks pile into the Gutter at Bass Point.
Hobart
Clear winter water at Tinderbox for drysuit divers.
Sites whose best season includes August1149 sites
Drawn from each site's “best season” field, so only sites with a stated seasonal window appear; year-round sites are on the regional pages.
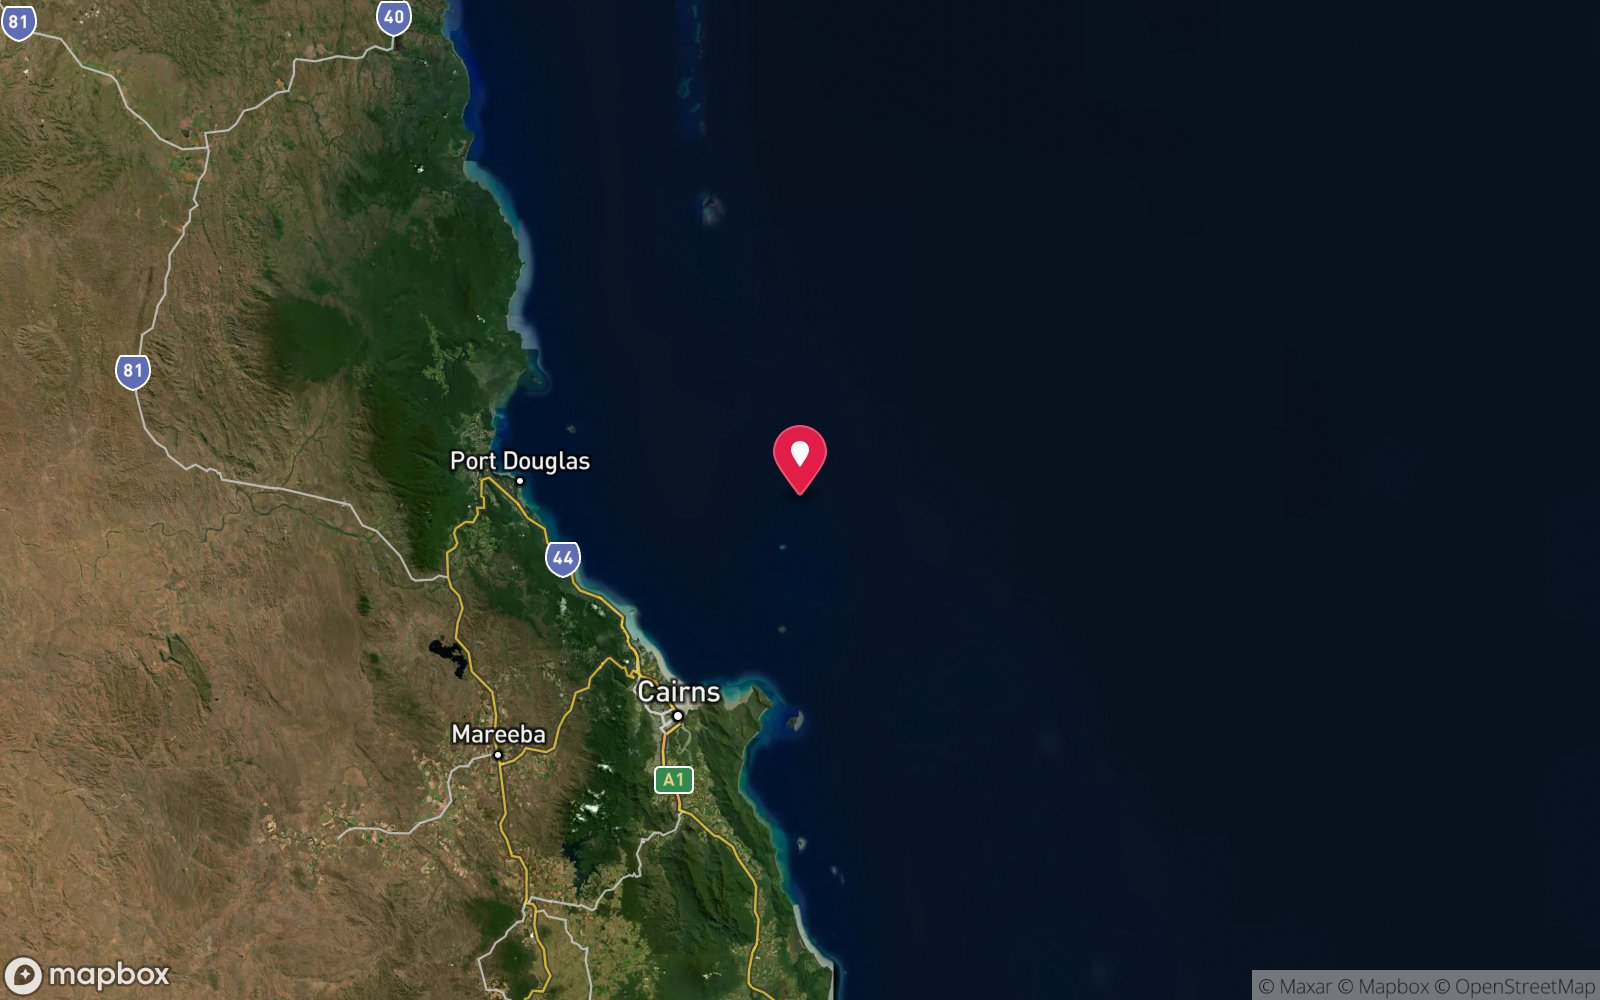
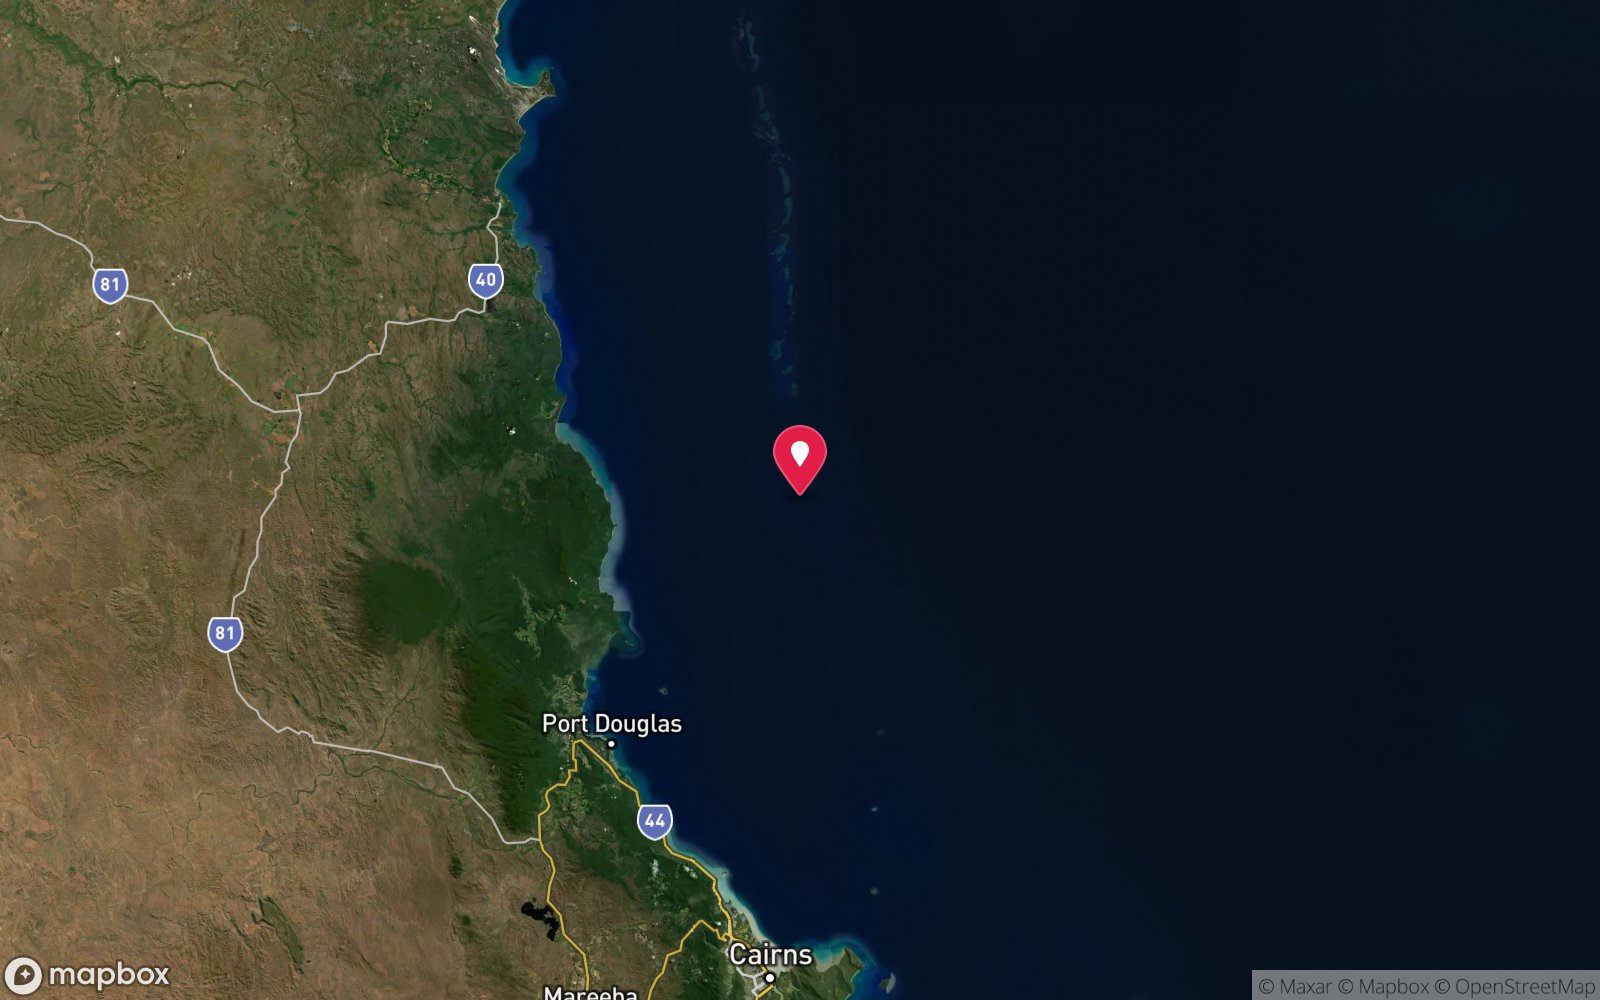
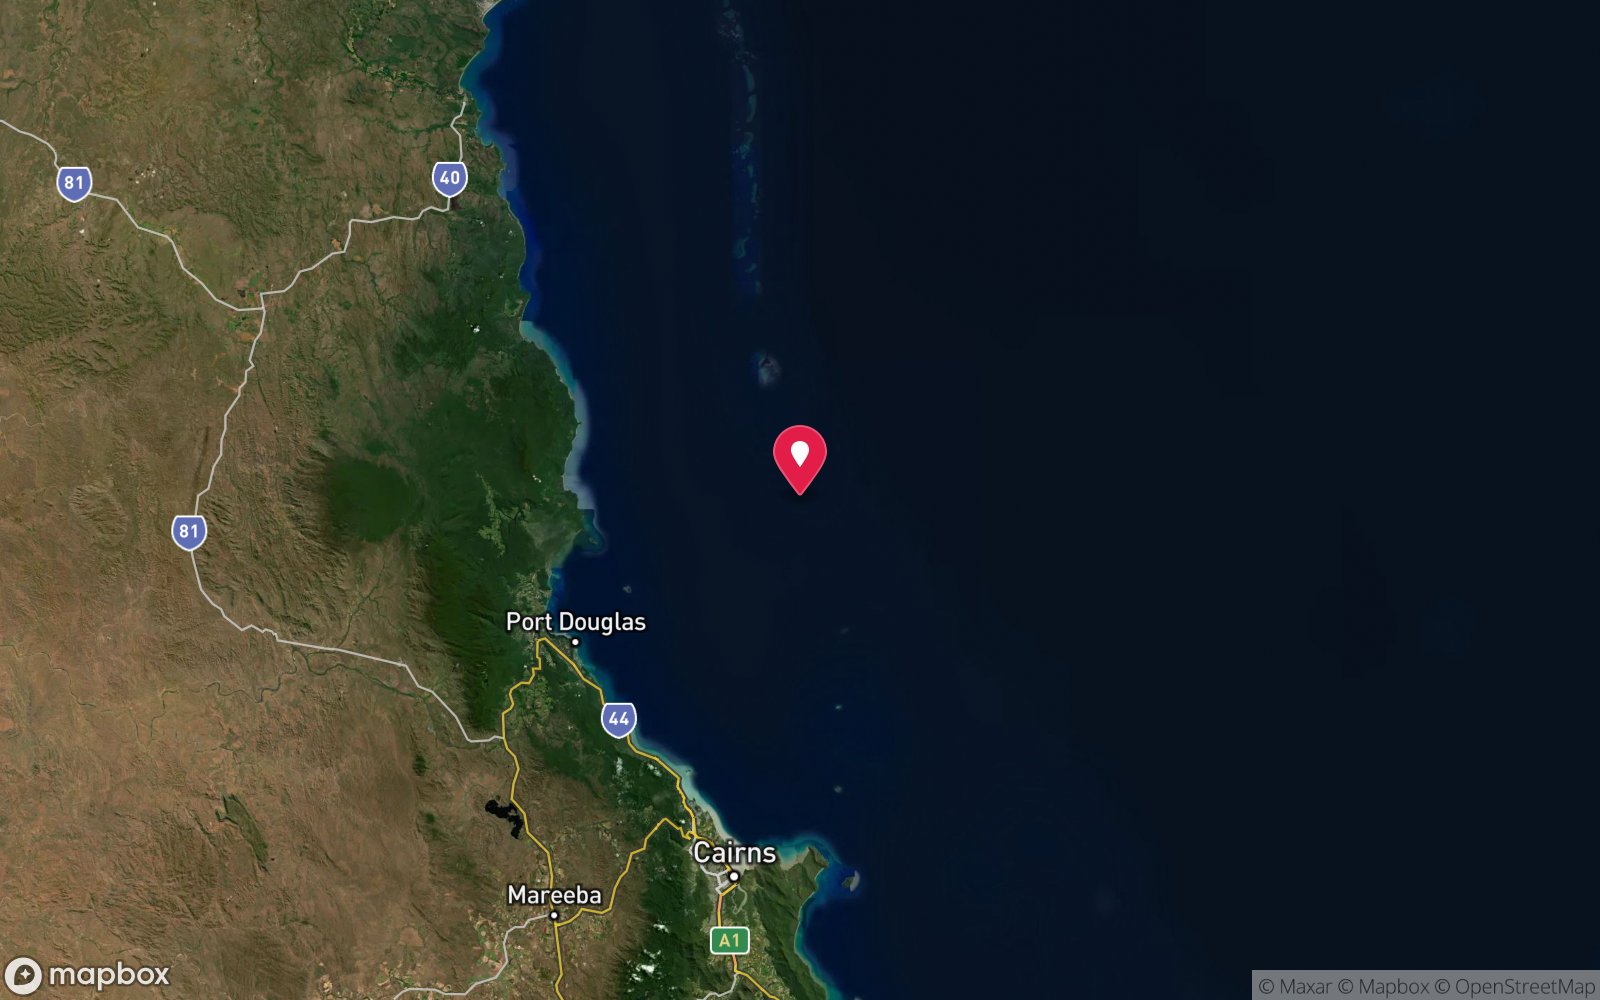
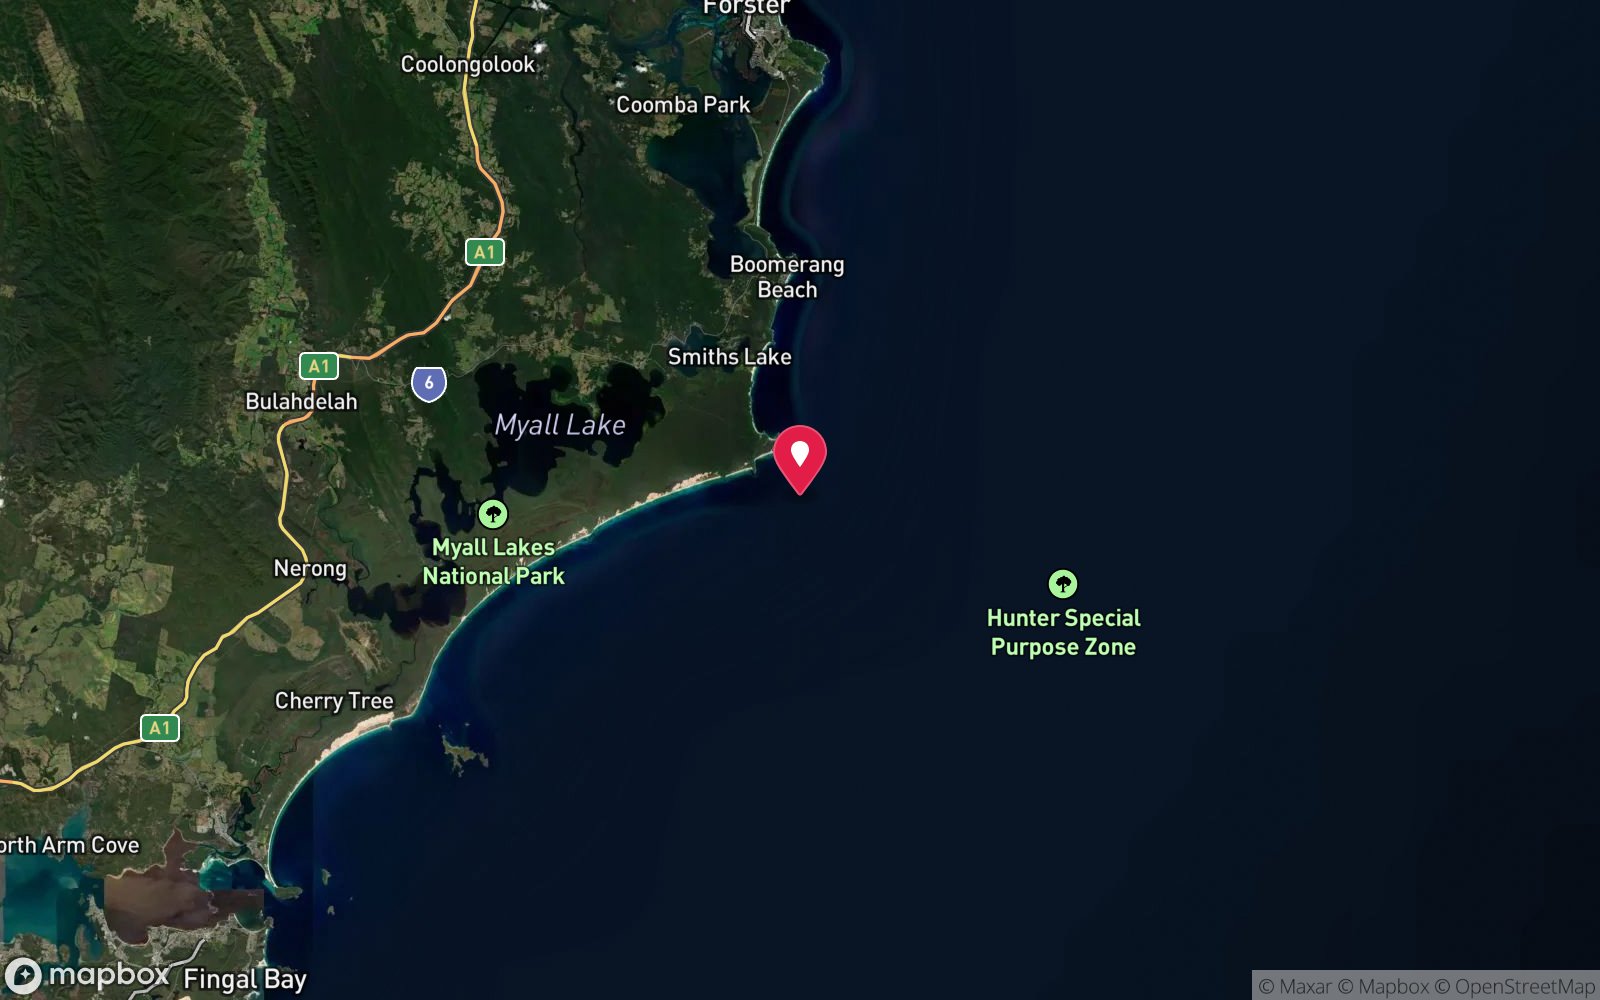
Queensland 378
- 1770 (Hastings Reef) · Max 20 m · Cairns
- Angel Bommie (Hastings Reef) · Max 18 m · Cairns
- Barolin Rocks · Max 10 m · Bundaberg & Agnes Water
- Barracuda Bommie (Agincourt Reef 2) · Max 22 m · Port Douglas
- Bashful Bommie (Opal Reef) · Max 18 m · Port Douglas
- Blue Buoy (Opal Reef) · Depth not published · Port Douglas
- Blue Lagoon (Hastings Reef) · Max 18 m · Cairns
- Blue Lagoon (Thetford Reef) · Max 18 m · Cairns
- Blue Pearl Bay (Hayman Island) · Max 18 m · Whitsundays & Bowen
- Castle Rock (Agincourt Reef 1) · Max 24 m · Port Douglas
- Cathedral (Thetford Reef) · Max 30 m · Cairns
- Caves (Norman Reef) · Max 25 m · Cairns
- Challenger Bay · Max 30 m · Ribbon Reefs & Lizard Island
- City Hall (Moore Reef) · Max 18 m · Cairns
- Clam Gardens (Lizard Island) · Max 6 m · Ribbon Reefs & Lizard Island
- Clipper & Super Cat (Norman Reef) · Max 22 m · Cairns
- Cod Hole · Max 32 m · Ribbon Reefs & Lizard Island
- Coral Gardens (Flynn Reef) · Max 30 m · Cairns
- Coronation Corner (Agincourt Reef 3) · Max 25 m · Port Douglas
- Curtin Artificial Reef · Max 30 m · Brisbane & Moreton Bay
- Fish Bowl (Hastings Reef) · Max 15 m · Cairns
- Fitzroy Island · Max 12 m · Cairns
- Gold Coast Seaway – South Wall (Sand Bypass Pipe) · Max 17 m · Gold Coast
- Gold Coast Seaway – South-West Wall (Broadwater beach) · Max 8 m · Gold Coast
- Gordon's Mooring (Flynn Reef) · Max 22 m · Cairns
- Great Adventures Pontoon Reef (Moore Reef) · Max 18 m · Cairns
- Green Island · Max 21 m · Cairns
- Harry's Bommie (Agincourt Reef 4) · Max 16 m · Port Douglas
- Horseshoe Reef (Agincourt Reef 2) · Max 20 m · Port Douglas
- Lighthouse Bommie · Max 30 m · Ribbon Reefs & Lizard Island
- Little Tracey (Flynn Reef) · Max 18 m · Cairns
- Low Isles · Max 8 m · Port Douglas
- Manta Bommie · Max 18 m · North Stradbroke Island
- Marine World Wall (Moore Reef) · Max 18 m · Cairns
- Michaelmas Cay · Max 12 m · Cairns
- Monkey Beach (Great Keppel Island) · Max 6 m · Capricorn Coast & Keppel Islands
- Nurse Rock · Max 22 m · Sunshine Coast
- Nursery Bommie (Agincourt Reef) · Max 24 m · Port Douglas
- Petaj Mooring (Milln Reef) · Max 20 m · Cairns
- Phil's Reef (Agincourt Reef 3) · Max 16 m · Port Douglas
Showing the 40 most-dived; the state page lists the rest.
New South Wales 231
- Big Seal Rock · Max 45 m · Forster & Seal Rocks
- Fairlight · Max 12 m · Sydney Harbour
- Fish Rock – Shark Gutters · Max 30 m · South West Rocks
- Julian Rocks – Cod Hole · Max 22 m · Tweed & Byron Bay
- Julian Rocks – Cray Cave · Max 25 m · Tweed & Byron Bay
- Julian Rocks – Rock Cod Cave · Max 24 m · Tweed & Byron Bay
- Julian Rocks – The Trench · Max 22 m · Tweed & Byron Bay
- Old Man's Hat (North Head) · Max 26 m · Sydney Northern Beaches
- The Leap (Kurnell) · Max 22 m · Sydney South & Botany Bay
- The Steps (Kurnell) · Max 15 m · Sydney South & Botany Bay
- Bare Island – 15 Metre Reef · Max 16 m · Sydney South & Botany Bay
- Bare Island – Deep Wall · Max 19 m · Sydney South & Botany Bay
- Bare Island – Isolated Reefs · Max 19 m · Sydney South & Botany Bay
- Bare Island – Not So Deep Wall · Max 16 m · Sydney South & Botany Bay
- Bondi Wall / North Bondi Reef · Max 30 m · Sydney South & Botany Bay
- Burrill Rocks · Max 24 m · Ulladulla
- Chowder Bay Wharf (naval wharf and mooring chains) · Max 12 m · Sydney Harbour
- Cod Grounds · Max 46 m · Port Macquarie & Camden Haven
- Crocodile Head · Max 24 m · Jervis Bay
- Dee Why Wide (Advanced) · Max 30 m · Sydney Northern Beaches
- Fish Rock – The Pinnacle · Max 35 m · South West Rocks
- Inscription Point (Kurnell) · Max 14 m · Sydney South & Botany Bay
- Lighthouse Wall · Max 28 m · Ulladulla
- Long Reef Wall · Max 24 m · Sydney Northern Beaches
- Martin Island · Max 30 m · Wollongong & Kiama
- Mutton Bird Island (Coffs Harbour) · Max 15 m · Coffs Harbour & Solitary Islands
- Nine Mile Reef · Max 30 m · Tweed & Byron Bay
- North Bondi (Ben Buckler Point) · Max 21 m · Sydney South & Botany Bay
- Runway 36 (North Head) · Max 27 m · Sydney Northern Beaches
- Shark Point (Clovelly) · Max 26 m · Sydney South & Botany Bay
- South Solitary Island – Manta Arch · Max 30 m · Coffs Harbour & Solitary Islands
- South Solitary Island – Shark Gutters · Max 18 m · Coffs Harbour & Solitary Islands
- SS Satara wreck · Max 44 m · Forster & Seal Rocks
- Steamers Beach Seal Colony · Max 25 m · Jervis Bay
- Ten Fathom Dropoff · Max 40 m · Jervis Bay
- The Arch (Jervis Bay) · Max 40 m · Jervis Bay
- TSS Wandra · Max 28 m · Jervis Bay
- Tweed River – Jack Evans Boat Harbour / Rock Wall · Max 12 m · Tweed & Byron Bay
- Wedding Cake Island (South East) · Max 22 m · Sydney South & Botany Bay
- Ballina Breakwall / Shaws Bay · Max 8 m · Ballina & Evans Head
Showing the 40 most-dived; the state page lists the rest.
Victoria 98
- Flinders Pier · Max 6 m · Mornington Peninsula
- Mornington Pier · Max 12 m · Mornington Peninsula
- Middle Island, Warrnambool · Max 15 m · Shipwreck Coast & Warrnambool
- Sorrento Pier · Max 7 m · Mornington Peninsula
- Barwon Bluff North · Max 9 m · Geelong & Bellarine
- Barwon Bluff South · Max 9 m · Geelong & Bellarine
- Barwon Heads Bluff · Max 9 m · Geelong & Bellarine
- Eagle Rock, Aireys Inlet · Max 10 m · Surf Coast & Great Ocean Road
- Fishermans Beach and Point Linley Reef · Max 10 m · Mornington Peninsula
- Frankston Pier · Max 6 m · Mornington Peninsula
- Geoffs Scallop Hole · Max 17 m · Mornington Peninsula
- Hurricane · Max 12 m · Melbourne & Port Phillip Bay
- JL's Scallop Beds · Max 17 m · Mornington Peninsula
- Lorne Pier · Max 6 m · Surf Coast & Great Ocean Road
- Mushroom Reef Marine Sanctuary · Max 12 m · Mornington Peninsula
- Napier · Max 8 m · Shipwreck Coast & Warrnambool
- Point Addis · Max 10 m · Surf Coast & Great Ocean Road
- Point Danger, Torquay · Max 20 m · Surf Coast & Great Ocean Road
- Point Franklin Reef, Portsea · Max 15 m · Mornington Peninsula
- Portsea Pier East Reef · Max 11 m · Mornington Peninsula
- Rosebud Pier · Max 8 m · Mornington Peninsula
- Rye Scallop Beds · Max 17 m · Mornington Peninsula
- SS Uralba · Max 18 m · Melbourne & Port Phillip Bay
- Toms Reef · Max 24 m · Mornington Peninsula
- Anser Island · Max 40 m · Wilsons Promontory
- Back Beach Cray Reef · Max 20 m · Mornington Peninsula
- Balnarring Reef · Max 8 m · Mornington Peninsula
- Bare Back Cove · Max 30 m · Wilsons Promontory
- Bells Beach · Max 10 m · Surf Coast & Great Ocean Road
- Bird Rock, Jan Juc · Max 8 m · Surf Coast & Great Ocean Road
- Birdrock Beach, Mount Martha · Max 6 m · Mornington Peninsula
- Bridgewater Bay, Blairgowrie · Max 8 m · Mornington Peninsula
- Brown Head Pinnacle · Max 35 m · Wilsons Promontory
- Bum Rock · Max 30 m · Wilsons Promontory
- Cape Schanck Cray Reef · Max 20 m · Mornington Peninsula
- Cape Schanck West (Pulpit Rock) · Max 7 m · Mornington Peninsula
- Cathedral Rock, Lorne · Max 8 m · Surf Coast & Great Ocean Road
- Clarence · Max 5 m · Melbourne & Port Phillip Bay
- Coral Cove, Mornington · Max 8 m · Mornington Peninsula
- Crawfish Rock · Max 32 m · Mornington Peninsula
Showing the 40 most-dived; the state page lists the rest.
Tasmania 41
- 27B (Bicheno) · Max 23 m · Tasmania East Coast
- Bird Rock (Bicheno) · Max 20 m · Tasmania East Coast
- Fish Rock (Bicheno) · Max 15 m · Tasmania East Coast
- Golden Bommies · Max 39 m · Tasmania East Coast
- Ile des Phoques · Max 30 m · Tasmania East Coast
- Magic Garden (Bicheno) · Max 33 m · Tasmania East Coast
- Mount Everest (Bicheno) · Max 40 m · Tasmania East Coast
- Muirs Rock · Max 18 m · Tasmania East Coast
- Paradise Reef · Max 33 m · Tasmania East Coast
- The Canyon (Bicheno) · Max 37 m · Tasmania East Coast
- The Castle (Bicheno) · Max 40 m · Tasmania East Coast
- The Hairy Wall · Max 40 m · Tasmania East Coast
- The Rose Garden (Bicheno) · Max 36 m · Tasmania East Coast
- The Steps (Bicheno) · Max 32 m · Tasmania East Coast
- Trap Reef · Max 35 m · Tasmania East Coast
- Binalong Bay / Skeleton Bay · Max 15 m · Tasmania North-East
- Bird Rock (Maria Island) · Max 6 m · Tasmania East Coast
- Black Patch Bay (Schouten Island) · Max 25 m · Tasmania East Coast
- Bunker Bay (Maria Island) · Max 20 m · Tasmania East Coast
- Cape Sonnerat (Schouten Island) · Max 40 m · Tasmania East Coast
- Darlington Jetty (Maria Island) · Max 5 m · Tasmania East Coast
- Fossil Bay (Maria Island) · Max 12 m · Tasmania East Coast
- Fossil Cliffs (Maria Island) · Max 17 m · Tasmania East Coast
- Gates Bluff Bay (Schouten Island) · Max 10 m · Tasmania East Coast
- Gleaner Reef (Schouten Island) · Max 10 m · Tasmania East Coast
- Grants Point Cove (Humbug Point) · Max 6 m · Tasmania North-East
- Isle du Nord (Maria Island) · Max 12 m · Tasmania East Coast
- Lemon Rock (Wineglass Bay) · Max 40 m · Tasmania East Coast
- Mariposa Reef (Four Mile Creek) · Max 9 m · Tasmania North-East
- Mistaken Cape (Maria Island) · Max 40 m · Tasmania East Coast
- Mount Storey Cliffs (Schouten Island) · Max 25 m · Tasmania East Coast
- Nobbys Rock (St Helens) · Max 24 m · Tasmania North-East
- North-Eastern Bommie (Maria Island) · Max 30 m · Tasmania East Coast
- Outer Doughboy (St Helens Rocks) · Max 25 m · Tasmania North-East
- Painted Cliffs (Maria Island) · Max 8 m · Tasmania East Coast
- Point Geographe (Schouten Island) · Max 15 m · Tasmania East Coast
- Sandstone Bluff (Schouten Island) · Max 12 m · Tasmania East Coast
- Sloop Rock (Bay of Fires) · Max 10 m · Tasmania North-East
- St Helens Island · Max 20 m · Tasmania North-East
- Taillefer Rocks · Max 30 m · Tasmania East Coast
Showing the 40 most-dived; the state page lists the rest.
South Australia 82
- Port Noarlunga Reef & Jetty · Max 20 m · Adelaide Metro
- Port Noarlunga Reef Underwater Trail · Max 20 m · Adelaide Metro
- Rapid Bay Jetty · Max 10 m · Fleurieu Peninsula & Victor Harbor
- Stony Point – Giant Cuttlefish Aggregation · Max 8 m · Whyalla & Upper Spencer Gulf
- Ex-HMAS Hobart · Max 30 m · Fleurieu Peninsula & Victor Harbor
- Glenelg Barge · Max 20 m · Adelaide Metro
- Glenelg Dredge (SS South Australian) · Max 20 m · Adelaide Metro
- HA Lumb Wreck · Max 20 m · Adelaide Metro
- Kingscote Jetty · Max 8 m · Kangaroo Island
- MV Andrew Wilson Wreck · Max 20 m · Adelaide Metro
- MV Seawolf Wreck · Max 20 m · Adelaide Metro
- Port Noarlunga Southern Reef · Max 8 m · Adelaide Metro
- Second Valley · Max 9 m · Fleurieu Peninsula & Victor Harbor
- Second Valley Jetty · Max 5 m · Fleurieu Peninsula & Victor Harbor
- Star of Greece Wreck · Max 6 m · Fleurieu Peninsula & Victor Harbor
- The Bluff (Rosetta Head) · Max 18 m · Fleurieu Peninsula & Victor Harbor
- Aldinga Drop-off · Max 21 m · Fleurieu Peninsula & Victor Harbor
- Aldinga Pinnacles · Max 18 m · Fleurieu Peninsula & Victor Harbor
- Christies Beach Ledges · Max 5 m · Adelaide Metro
- Emu Bay Jetty · Max 7 m · Kangaroo Island
- Fitzgerald Bay / Black Point · Max 8 m · Whyalla & Upper Spencer Gulf
- Glenelg Blocks · Max 6 m · Adelaide Metro
- Glenelg Tyre Reef · Max 18 m · Adelaide Metro
- Horseshoe Reef · Max 6 m · Adelaide Metro
- Lasseter's Reef · Max 8 m · Fleurieu Peninsula & Victor Harbor
- Noarlunga Tyre Reef · Max 20 m · Adelaide Metro
- Norma Wreck · Max 15 m · Adelaide Metro
- Port Willunga Reef & Jetty Ruins · Max 6 m · Fleurieu Peninsula & Victor Harbor
- Rapid Head · Max 12 m · Fleurieu Peninsula & Victor Harbor
- Seacliff Reef · Max 15 m · Adelaide Metro
- Snapper Point (Aldinga Reef) · Max 7 m · Fleurieu Peninsula & Victor Harbor
- Whale Bones · Max 10 m · Fleurieu Peninsula & Victor Harbor
- AV Ulonga Wreck · Max 39 m · Fleurieu Peninsula & Victor Harbor
- Black's Reef (Encounter Bay) · Max 14 m · Fleurieu Peninsula & Victor Harbor
- Brighton Jetty · Max 5 m · Adelaide Metro
- Broken Bottom · Max 11 m · Adelaide Metro
- Cape Jervis Barge (Hopper Barge No. 3) · Max 7 m · Fleurieu Peninsula & Victor Harbor
- Carrickalinga Reef · Max 6 m · Fleurieu Peninsula & Victor Harbor
- Claris Wreck · Max 28 m · Adelaide Metro
- Deep Creek (Boat Harbor Beach & Deep Creek Cove) · Depth not published · Fleurieu Peninsula & Victor Harbor
Showing the 40 most-dived; the state page lists the rest.
Western Australia 145
- Denton Holme Wreck · Max 7 m · Rottnest Island
- Fay's Bay · Max 5 m · Rottnest Island
- Geordie Bay · Max 8 m · Rottnest Island
- Little Armstrong Bay · Max 5 m · Rottnest Island
- Little Parakeet Bay · Max 4 m · Rottnest Island
- Little Salmon Bay · Max 6 m · Rottnest Island
- Longreach Bay · Max 5 m · Rottnest Island
- Monkey Mia · Max 3 m · Kalbarri & Shark Bay
- Ningaloo Humpback Whale Swim · Depth not published · Ningaloo – Exmouth
- Ningaloo Whale Shark Swim · Depth not published · Ningaloo – Exmouth
- Parker Point Snorkel Trail · Max 12 m · Rottnest Island
- Pinky Beach · Max 5 m · Rottnest Island
- Rockingham Wreck Trail · Max 18 m · Perth
- Roe Reef · Max 18 m · Rottnest Island
- Rottnest Wreck Trail · Max 10 m · Rottnest Island
- Salmon Bay · Max 5 m · Rottnest Island
- Shark Hopper Barge (Henrietta Rocks) · Max 4 m · Rottnest Island
- SS Macedon Wreck · Max 7 m · Rottnest Island
- Tantabiddi Sanctuary Zone (Staghorns & The Bombies) · Max 3.5 m · Ningaloo – Exmouth
- The Basin · Max 4 m · Rottnest Island
- Uribes Wreck · Max 4 m · Rottnest Island
- ALC40 & Gay Dragon Wrecks (Bicton) · Max 8.5 m · Perth
- Bicton Baths (Swan River) · Max 15 m · Perth
- Breaksea Island · Max 28 m · Albany & Great Southern
- Cod Spot · Max 20 m · Ningaloo – Exmouth
- Crystal Palace · Max 18 m · Rottnest Island
- Dinner Plates · Max 18 m · Ningaloo – Exmouth
- Fraggle Rock · Max 20 m · Ningaloo – Exmouth
- HMAS Perth Wreck · Max 35 m · Albany & Great Southern
- Janet Wreck · Max 7 m · Rottnest Island
- Keyhole · Max 20 m · Ningaloo – Exmouth
- Lady Elizabeth Wreck · Max 10 m · Rottnest Island
- Parker Point Drop-off · Max 22 m · Rottnest Island
- Rocky Bay · Max 5 m · Rottnest Island
- Sponge Gardens (Muiron Islands) · Max 20 m · Ningaloo – Exmouth
- The Gap (Muiron Islands) · Max 20 m · Ningaloo – Exmouth
- The Spit (Muiron Islands) · Max 18 m · Ningaloo – Exmouth
- Whalebone · Max 20 m · Ningaloo – Exmouth
- Bare Rock (Dampier) · Max 20 m · Pilbara & Dampier
- Beverly Hills · Max 24 m · Ningaloo – Exmouth
Showing the 40 most-dived; the state page lists the rest.
Northern Territory 69
- DK 06 Ham Luong · Max 25 m · Darwin Harbour
- John Holland Barge · Max 25 m · Darwin Harbour
- Medkhanun 3 · Max 20 m · Darwin Harbour
- NR Diemen · Max 12 m · Darwin Harbour
- Song Saigon · Max 25 m · Darwin Harbour
- SS Mauna Loa · Max 20 m · Darwin Harbour
- SS Zealandia · Max 22 m · Darwin Harbour
- USAT Meigs · Max 18 m · Darwin Harbour
- Amanda Lee · Max 28 m · Darwin Offshore & Artificial Reefs
- Amelia C · Max 28 m · Darwin Offshore & Artificial Reefs
- Antares and Steel Barge · Max 28 m · Darwin Offshore & Artificial Reefs
- Bellbird · Max 16 m · Darwin Harbour
- Bus Stop Reef · Max 25 m · Darwin Offshore & Artificial Reefs
- C-47 Dakota A65-115 · Max 22 m · Darwin Harbour
- Channel Rock · Max 16 m · Darwin Harbour
- Cockatoo and Mudlark Artificial Reef · Max 25 m · Darwin Offshore & Artificial Reefs
- DSAC Barge · Max 25 m · Darwin Harbour
- Dudley Point Bommies · Max 8 m · Darwin Harbour
- East Point Reef · Max 8 m · Darwin Harbour
- Galah and Heron Artificial Reef · Max 25 m · Darwin Offshore & Artificial Reefs
- Kelat · Max 12 m · Darwin Harbour
- Marchart 3 · Max 28 m · Darwin Offshore & Artificial Reefs
- Merindah Pearl · Max 28 m · Darwin Offshore & Artificial Reefs
- Pipeline Artificial Reef · Max 25 m · Darwin Offshore & Artificial Reefs
- The Pinnacle · Max 15 m · Darwin Harbour
- USS Peary · Max 30 m · Darwin Harbour
- Weed Reef Bommies · Max 16 m · Darwin Harbour
- Adelaide River Mouth Engineered Reef · Max 16 m · Darwin Offshore & Artificial Reefs
- Beaufort A9-497 · Max 18 m · Darwin Harbour
- Bennetts Bottom · Max 32 m · Darwin Harbour
- Bluebird · Max 15 m · Darwin Harbour
- Booya · Max 22 m · Darwin Harbour
- Bottlewasher Artificial Reef · Max 15 m · Darwin Offshore & Artificial Reefs
- British Motorist · Max 20 m · Darwin Harbour
- Buffalo LVT amphibious vehicle · Max 23 m · Darwin Harbour
- Bynoe Harbour Entrance Reefs · Depth not published · Darwin Offshore & Artificial Reefs
- Catalina A24-1 (Catalina 1) · Max 5 m · Darwin Harbour
- Catalina A24-206 (Catalina 3) · Max 16 m · Darwin Harbour
- Catalina A24-69 (Catalina 2) · Max 12 m · Darwin Harbour
- Darwin Princess · Max 26 m · Darwin Harbour
Showing the 40 most-dived; the state page lists the rest.
External Territories 105
- Emily Bay · Max 6 m · Norfolk Island
- Slaughter Bay · Max 6 m · Norfolk Island
- Admiralty (Osprey Reef) · Max 40 m · Coral Sea
- Amazing (Holmes Reef) · Max 20 m · Coral Sea
- Around the Bend (Osprey Reef) · Max 35 m · Coral Sea
- Boat Cave · Max 16 m · Christmas Island
- Cemetery Bay · Depth not published · Norfolk Island
- Crystal Plateau (Bougainville Reef) · Max 40 m · Coral Sea
- Dungeons & Dragons (Bougainville Reef) · Max 35 m · Coral Sea
- Fairy Grotto (Osprey Reef) · Max 35 m · Coral Sea
- False Entrance (Osprey Reef) · Max 40 m · Coral Sea
- Half Way Wall (Osprey Reef) · Max 40 m · Coral Sea
- MV Antonio Tarabocchia wreck · Max 25 m · Coral Sea
- Nonki Bommie (Holmes Reef) · Max 36 m · Coral Sea
- North Horn (Osprey Reef) · Max 40 m · Coral Sea
- North Horn Wall (Osprey Reef) · Max 40 m · Coral Sea
- Perpendicular Wall · Max 40 m · Christmas Island
- Resort Lagoon / Waterfall Bay · Max 20 m · Christmas Island
- Secret Caves (Osprey Reef) · Max 30 m · Coral Sea
- Silver City (Osprey Reef) · Max 40 m · Coral Sea
- The Castles (Osprey Reef) · Max 40 m · Coral Sea
- West White Beach · Max 15 m · Christmas Island
- West White Beach Cave · Max 28 m · Christmas Island
- Anchors Away (Bougainville Reef) · Max 28 m · Coral Sea
- Anson Bay · Max 8 m · Norfolk Island
- Between the Wrecks (Bougainville Reef) · Max 40 m · Coral Sea
- Black Bank · Max 21 m · Norfolk Island
- Cascade Pier · Max 15 m · Norfolk Island
- Cathedral (Holmes Reef) · Max 40 m · Coral Sea
- Claytons Wreck (Nepean Island) · Max 16 m · Norfolk Island
- Cod Wall (Flinders Reef) · Max 40 m · Coral Sea
- Cooks Arch · Max 21 m · Norfolk Island
- Coral Canyons (Osprey Reef) · Max 40 m · Coral Sea
- Corner Shop (Bougainville Reef) · Max 30 m · Coral Sea
- Crystal Pool · Max 6 m · Norfolk Island
- Egeria Point · Max 22 m · Christmas Island
- Ethel Beach · Max 14 m · Christmas Island
- Fan Fair (Flinders Reef) · Depth not published · Coral Sea
- Fireplace · Max 20 m · Norfolk Island
- Fish Bowl (Nepean Island) · Max 18 m · Norfolk Island
Showing the 40 most-dived; the state page lists the rest.